This post belongs to the Atreus build series, which was introduced by Onward with the Atreus keyboard.
The advantage of building your own mechanical keyboard is that you get to choose the software to run on it. The problem is that you need to place the controller in "flashing mode" to do just that.
I learnt my mistake and decided to give myself an easier time to play with the keyboard software and give me better access to the reset pin of the Pro Micro.
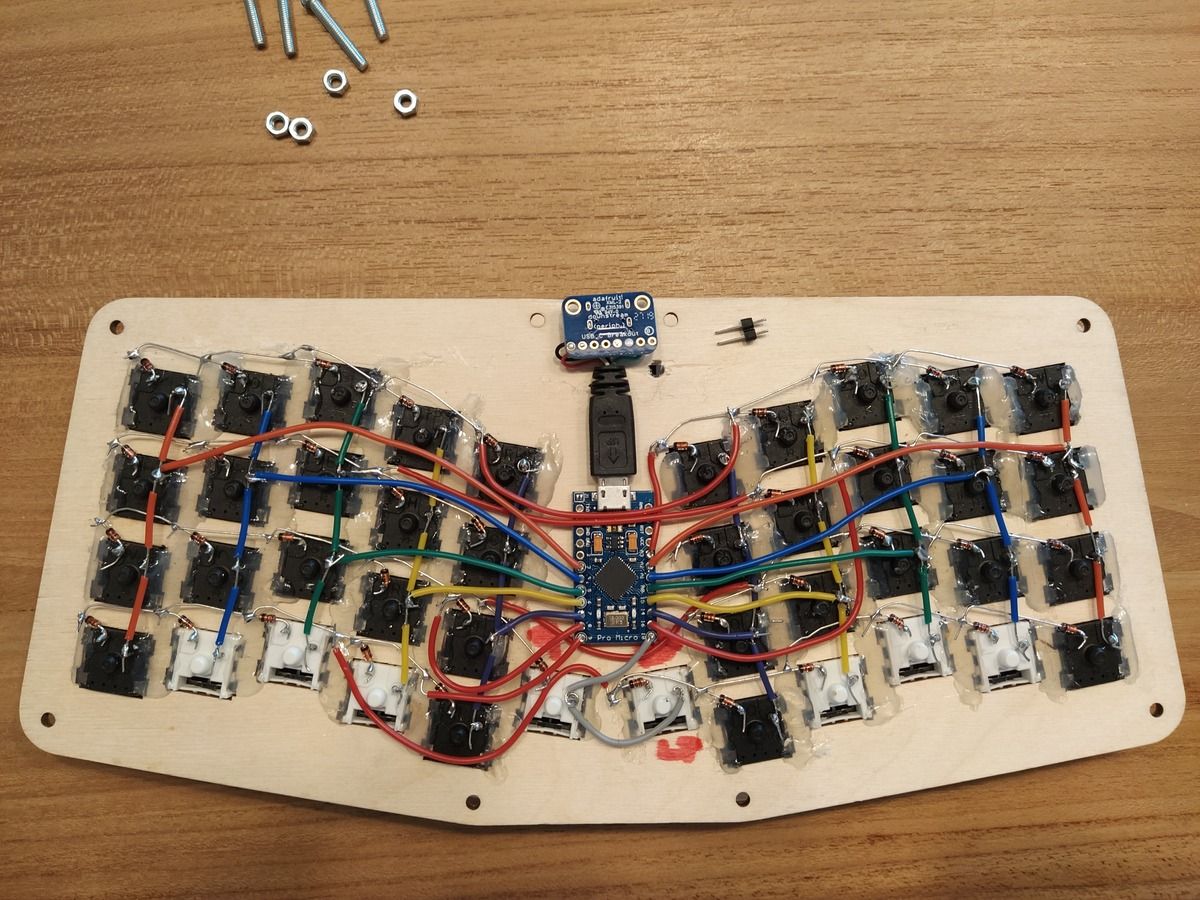
I am simply going to expose the upper part of two pins from a plain old header bar which I will solder to the reset and ground pins of the Pro Micro. Then I simply have to short these pins to "hold" reset. A small screwdriver will provide conductivity and reach whenever the need arises.