This post begins the Atreus build series, which was introduced by Onward with the Atreus keyboard.
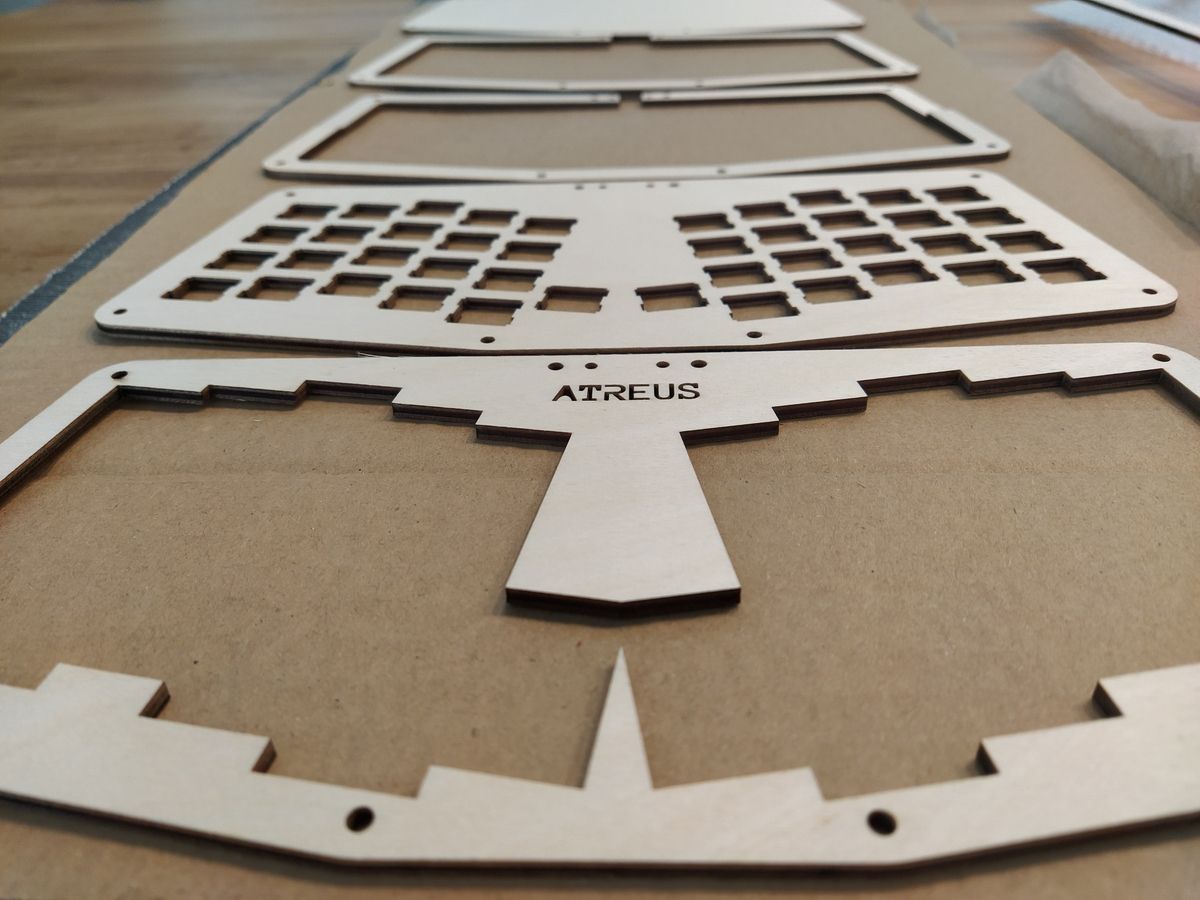
I received the laser-cut sheet of plywood yesterday. This time I will let pictures speak for themselves.

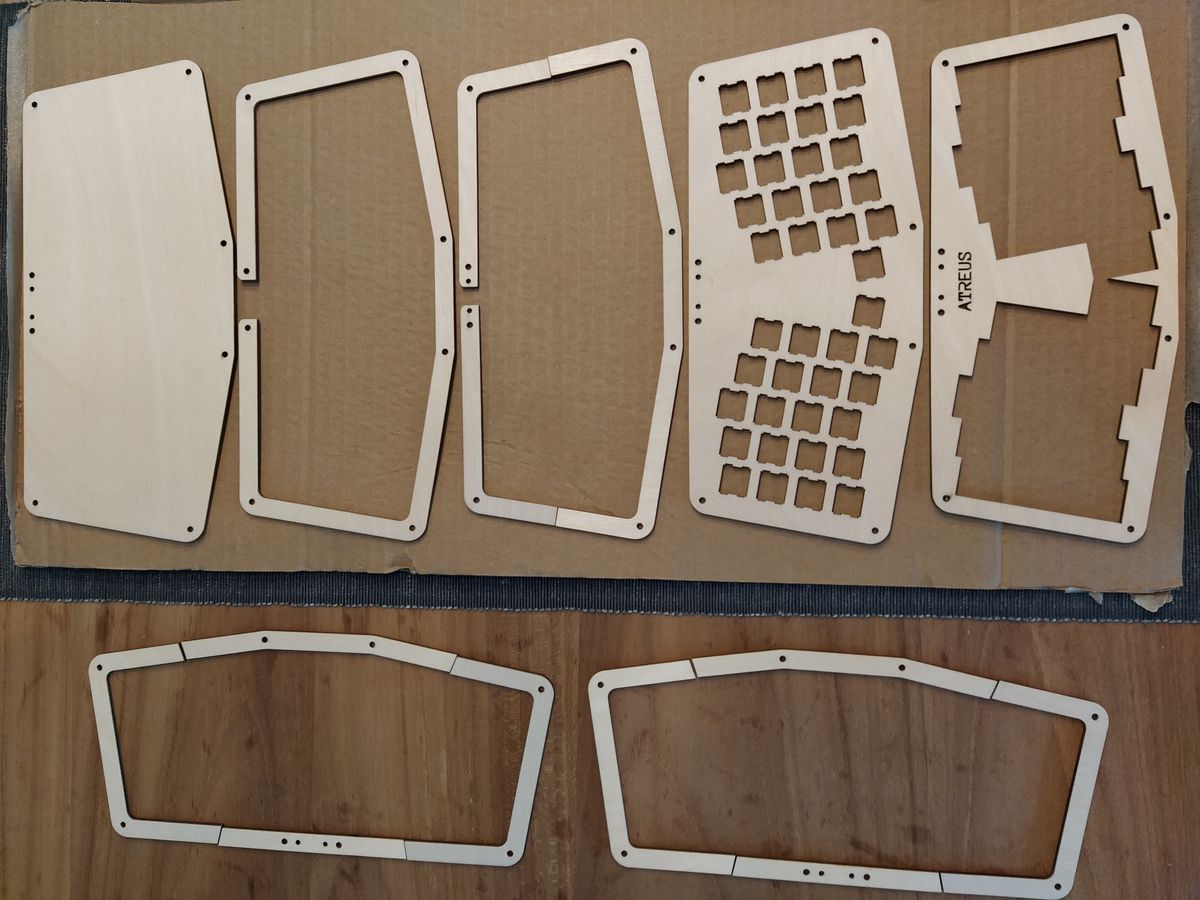


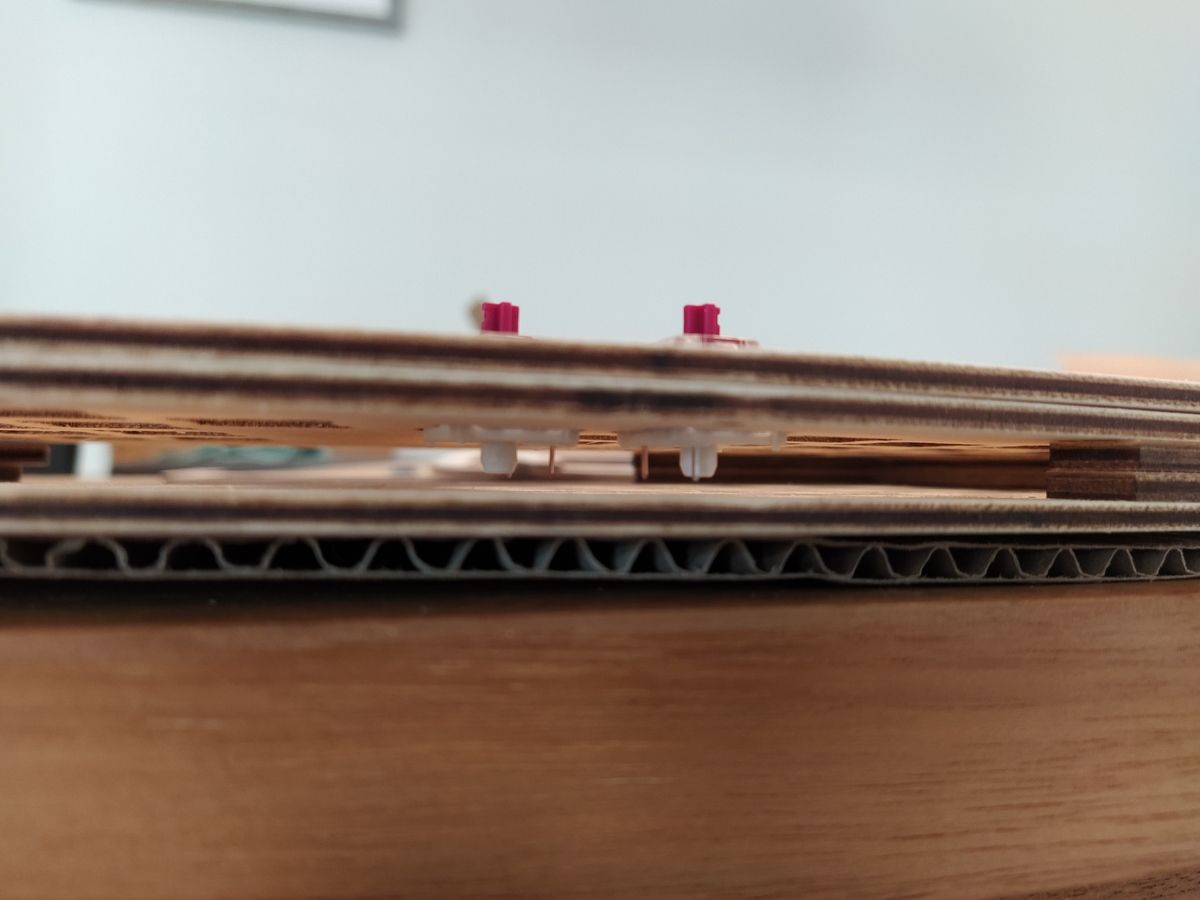
Note the short clearance under the key switches pins, there isn't much space for wiring under the switches, it will have to be done alongside the switch pins. That is, I could use one or two of the additional spacers I could fit on the plywood sheet but I will try to keep the casing as thin as possible.
I am very happy with my change to the spacers to accommodate for the USB-C breakout board, it looks good with the snug fit and rounder corners.

Next step: glueing the key switches and wiring things up.